¶ Add Server without docker for MySQL/MariaDB
Once you have the account created, log into Upback.cloud and go to Home/Servers → Add Server to add a database server into Upback. This basically means to install and configure Upback agent on the server.

¶ The steps to add a new server are explained in the following subsections.
- Select Database
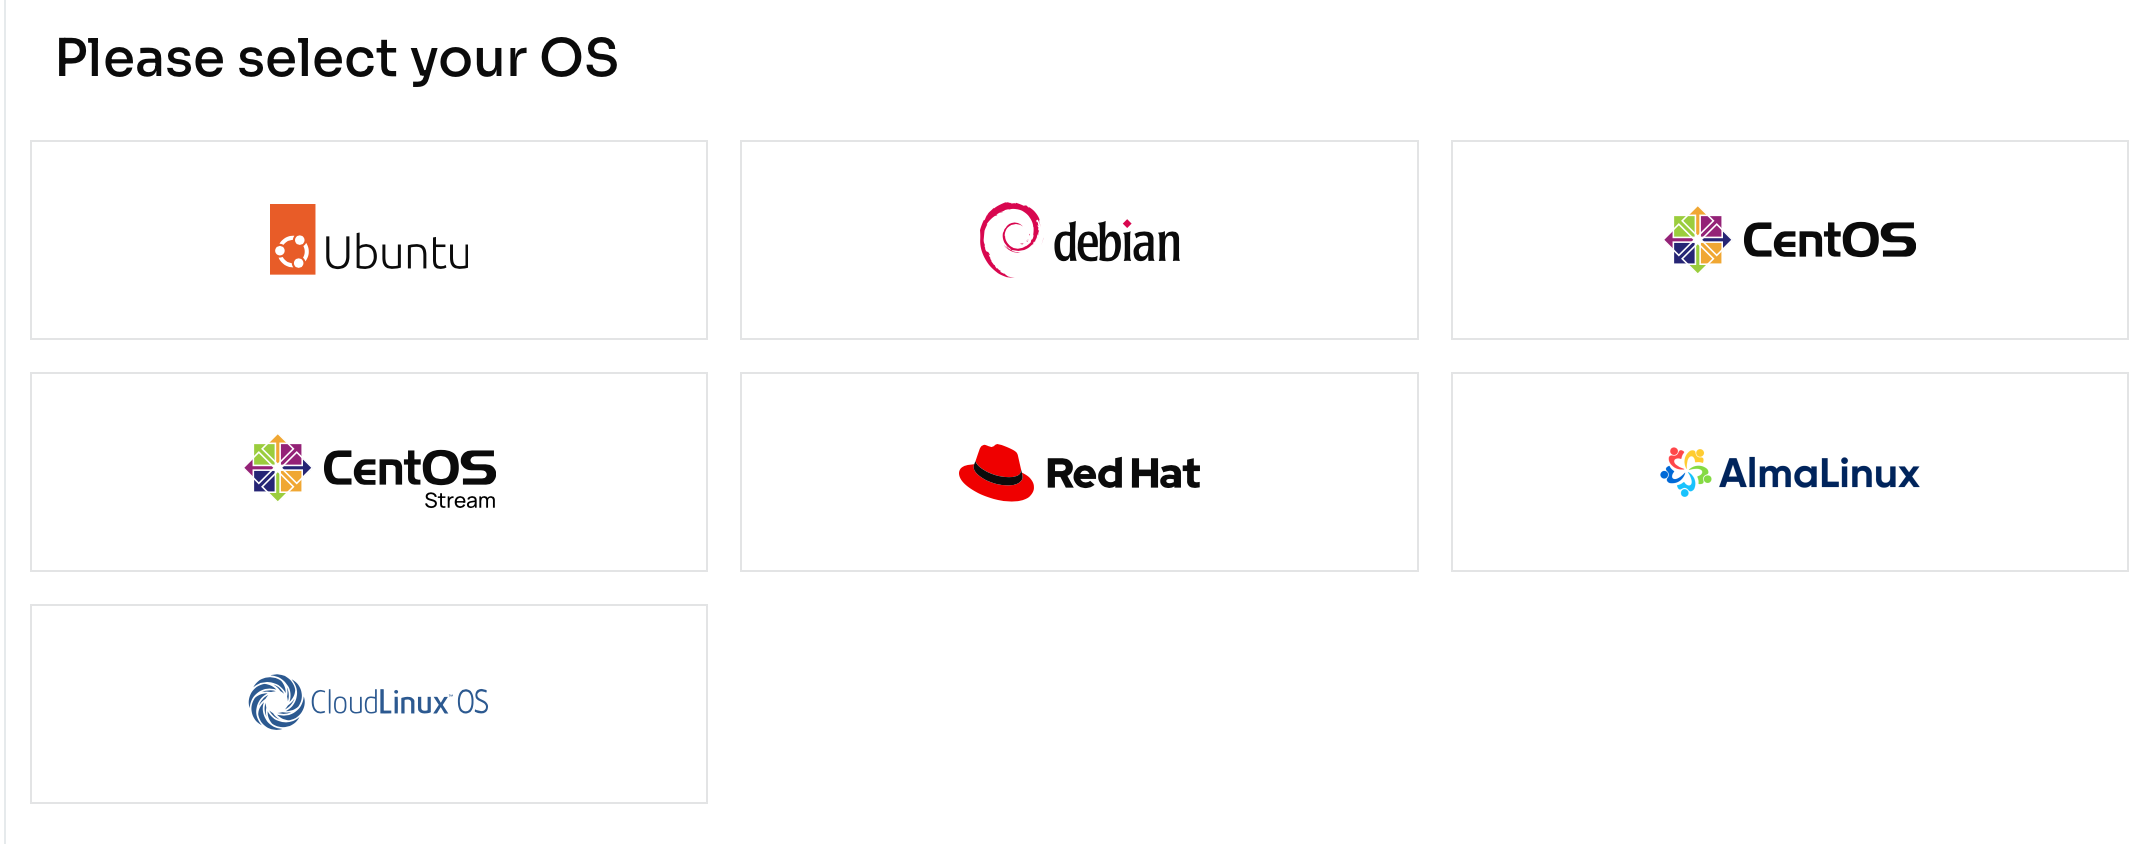
Choose the database technology and the OS version that you want to back up. You can choose between a wide range of supported database engines for both SQL and NoSQL databases.

2. Click on the respective database vendor and click Next step→ to proceed.
Choose whether you have the containerized db and proceed.

3. Copy and paste the command in your terminal. Fill in the fields with Server name and Client ID.

4. Add the necessary Database details in order to proceed.

¶ Please note that for Database account you can either use the root as user with its corresponding password or a new user needs to be created.
-------------------
¶ For MySQL/MariaDB 5.x use the following commands:
CREATE USER 'my_user'@'127.0.0.1' IDENTIFIED BY 'my_password';
GRANT RELOAD, LOCK TABLES, PROCESS, REPLICATION CLIENT ON *.* TO 'my_user'@'127.0.0.1';
FLUSH PRIVILEGES;
This step is valid for FREE version only.
If you use ADVANCED or PREMIUM version, i.e. you have the possibility to RESTORE or CLONE your DB,
please add the following line:
GRANT CREATE, INSERT ON *.* TO 'my_user'@'127.0.0.1';
¶ For MySQL 8.0:
CREATE USER 'my_user'@'127.0.0.1' IDENTIFIED BY 'my_password';
GRANT BACKUP_ADMIN, PROCESS, RELOAD, LOCK TABLES, REPLICATION CLIENT ON *.* TO 'my_user'@'127.0.0.1';
GRANT SELECT ON performance_schema.log_status TO 'my_user'@'127.0.0.1';
GRANT SELECT ON performance_schema.keyring_component_status TO 'my_user'@'127.0.0.1';
GRANT SELECT ON performance_schema.replication_group_members TO 'my_user'@'127.0.0.1';
FLUSH PRIVILEGES;
If you use ADVANCED or PREMIUM version, i.e. you have the possibility to RESTORE or CLONE your DB,
please add the following line:
GRANT CREATE, INSERT ON *.* TO 'my_user'@'127.0.0.1';
¶ For MariaDB 10.x (up to 10.4)
CREATE USER 'my_user'@'127.0.0.1' IDENTIFIED BY 'my_password';
GRANT RELOAD, PROCESS, LOCK TABLES, BINLOG MONITOR ON *.* TO 'my_user'@'127.0.0.1';
FLUSH PRIVILEGES;
If you use ADVANCED or PREMIUM version, i.e. you have the possibility to RESTORE or CLONE your DB,
please add the following line:
GRANT CREATE, INSERT ON *.* TO 'my_user'@'127.0.0.1';
¶ For MariaDB >=10.5
CREATE USER 'my_user'@'127.0.0.1' IDENTIFIED BY 'my_password';
GRANT RELOAD, PROCESS, LOCK TABLES, REPLICATION CLIENT ON *.* TO 'my_user'@'127.0.0.1';
FLUSH PRIVILEGES;
If you use ADVANCED or PREMIUM version, i.e. you have the possibility to RESTORE or CLONE your DB,
please add the following line:
GRANT CREATE, INSERT ON *.* TO 'my_user'@'127.0.0.1';
-----------------
DB host is usually 127.0.0.1. Please note it must be a local ip address of the server where you installed the agent.
DB port is usually 3306
Click Next step→ and follow the instructions to complete the installation without docker.

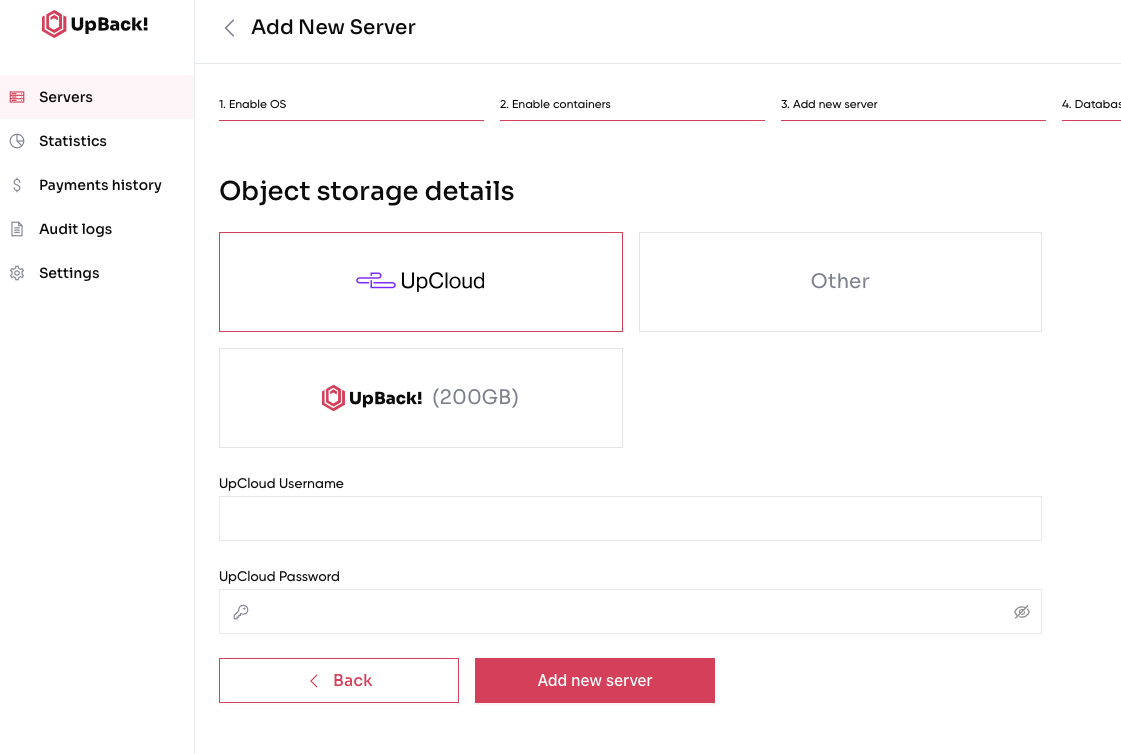
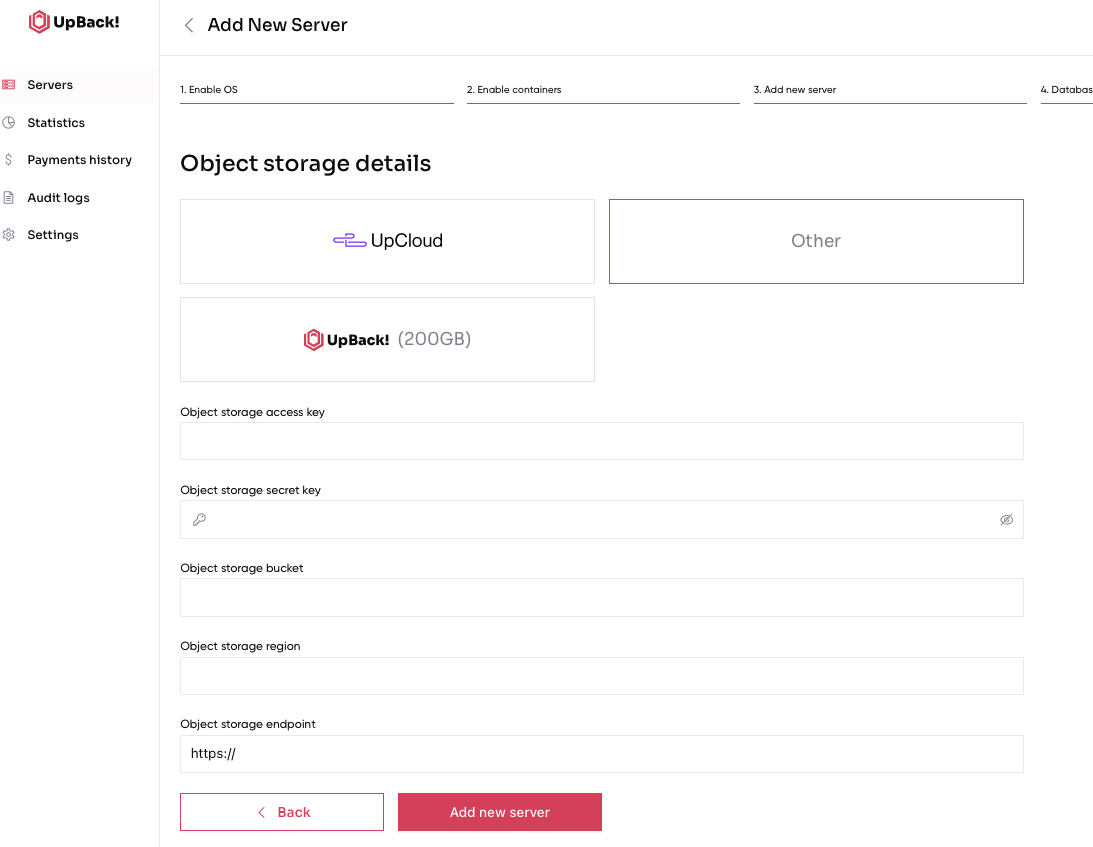
5. Complete the last window choosing the correct storage mode. If you decide to use the UpCloud storage mode, please create the UpCload account for Upback storage as described here.
Fill in with the credentials created and then click Add new server.

Otherwise complete the process using the object store details. Then click Add new server.

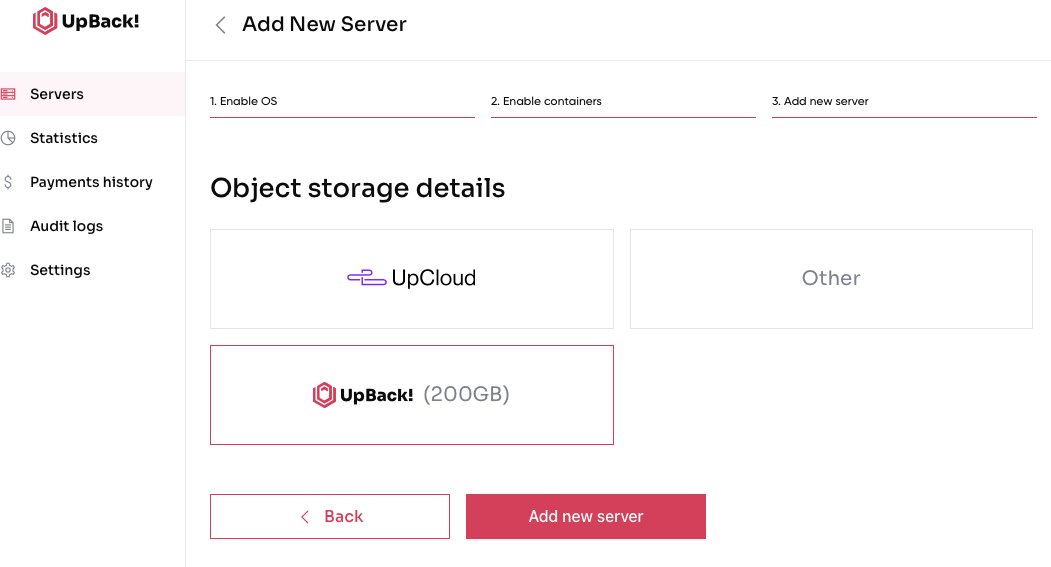
¶ Finally, if you are the Premium user and decide to use the last option, please select UpBack! and proceed directly with adding the new server.

6. Execute the following commands as shown below and start the agent. Press Finish button to complete the installation.

Congratulations, you have your server added now.
N.B. Please note that you have to create a user dedicated to each UpBack! server you are configuring.